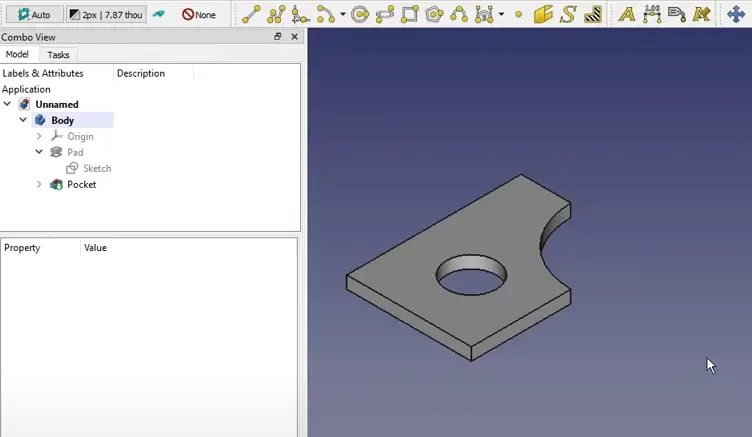
Hello Friends welcome to FreeCAD Tutorial in our previous tutorial we have did FreeCAD Part Modeling Tutorial 58. In this Tutorial we will learn how to copy and arrange shape in FreeCAD. Lets create a simple body as shown in the image.
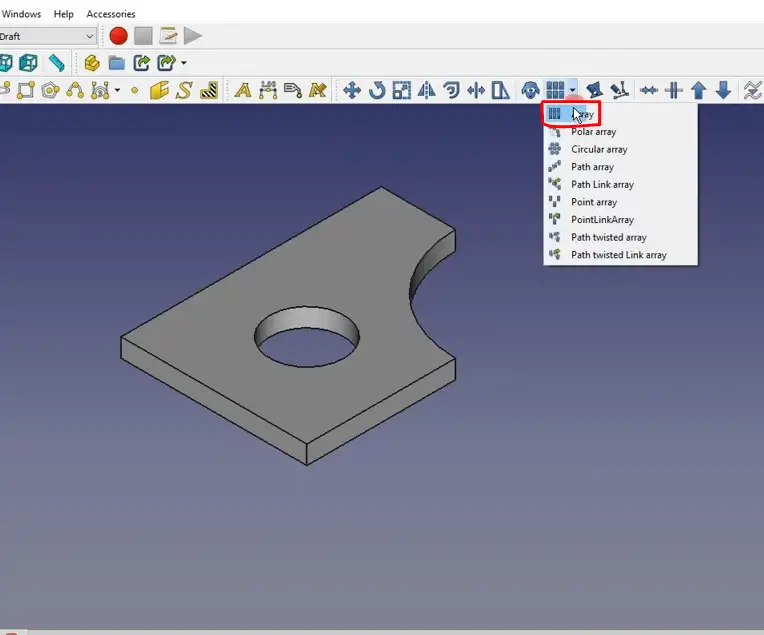
Now switch to Draft Workbench and click on array option.
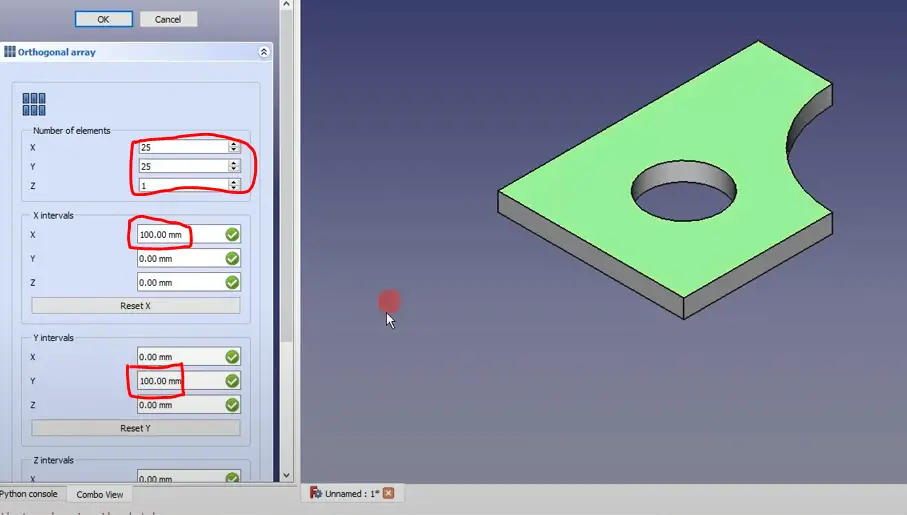
Now give Number of interval in X and Y direction in my case I have given 25 in X and 25 in Y Direction and distance 100mm in both X and Y direction as shown in below image.
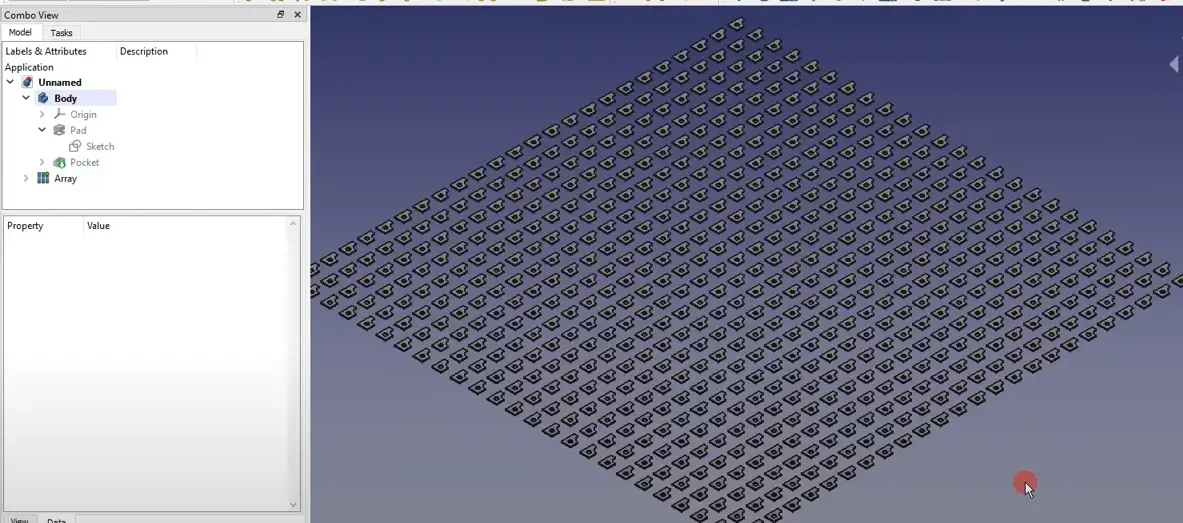
It will create the pattern as shown in the below image. you can edit pattern as per your requirement.
“Thank you for reading! If you found this article insightful and valuable, consider sharing it with your friends and followers on social media. Your share can help others discover this content too. Let’s spread knowledge together. Your support is greatly appreciated!”

My FreeCAD Projects at Amount of Coffee-: