
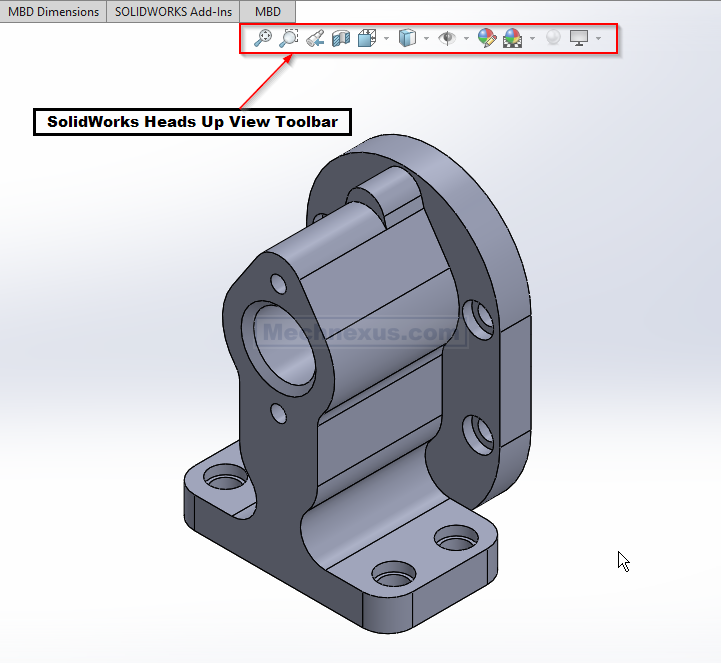
Hello friends welcome to SolidWorks Tutorial In this tutorial we will learn Heads-up View Toolbar in SolidWorks this tool help a lot when creating model in SolidWorks. If you want to learn SolidWorks from scratch then you can buy my Complete SolidWorks Course on Udemy. The Heads-up View Toolbar in SOLIDWORKS is a transparent toolbar located at the top of the graphics area that provides quick access to common view manipulation tools, helping you dynamically change the model’s display without interrupting your workflow.
Related Posts-:
- Change Background of SOLIDWORKS User Interface
- How to Speed Up SolidWorks Performance
- Understand Displaying Scrollbars in SolidWorks
🛠️ What is the Heads-up View Toolbar?-:
-
Purpose and Location: It is a central toolbar that appears as a transparent strip at the top center of the graphics window in a SOLIDWORKS document. It consolidates frequently used viewing tools for easy access.
-
Key Advantage: Unlike other toolbars, it stays visible within the graphics area, allowing you to change how you view your model without needing to navigate through main menus.
📋 Common Tools on the Heads-up View Toolbar-:
The table below summarizes the primary tools and their functions:
| Tool Name | Function |
|---|---|
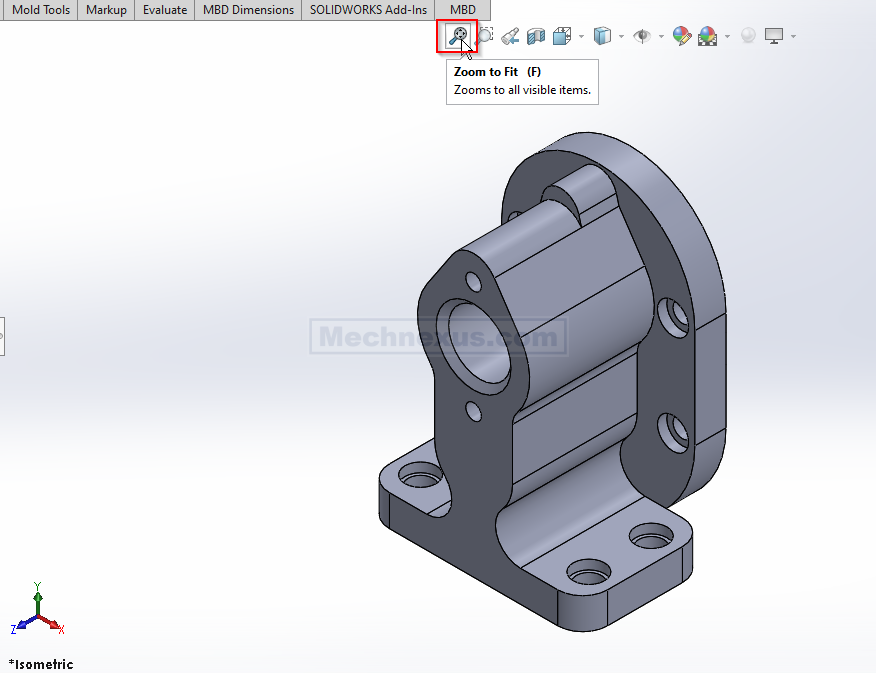
| Zoom to Fit | Fills the graphics area with the model. |
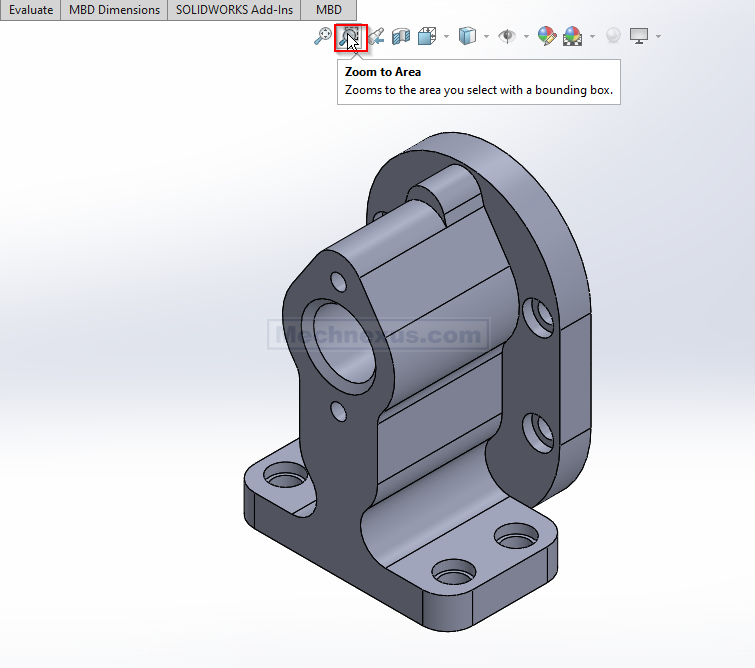
| Zoom to Area | Magnifies a specific area you select with a bounding box. |
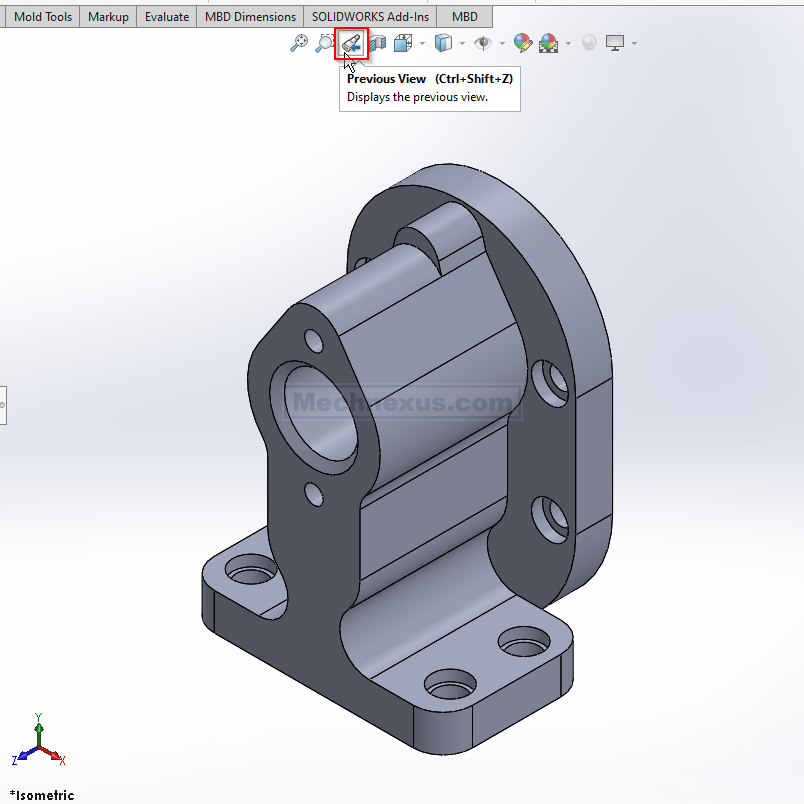
| Previous View | Returns to the last view setting. |
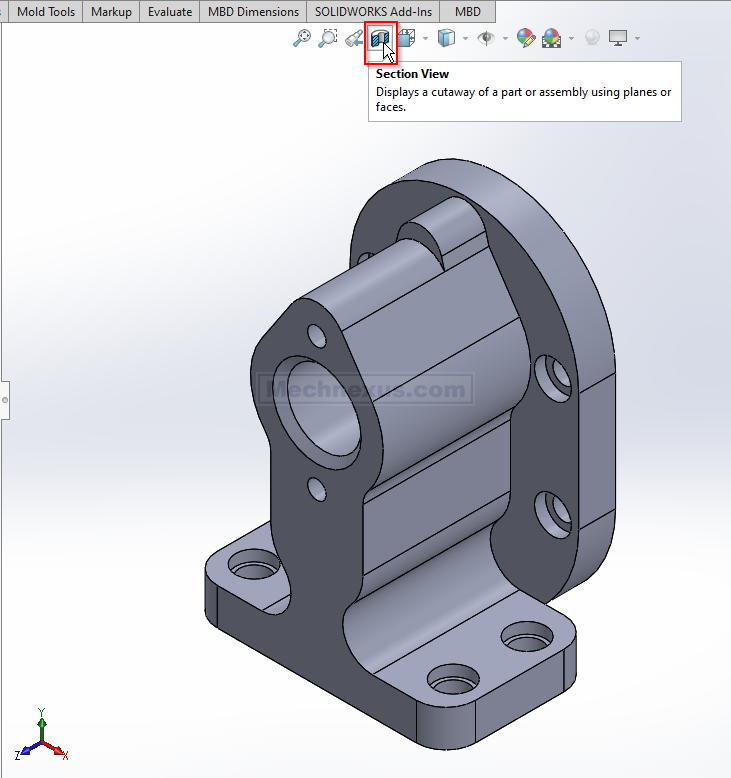
| Section View | Displays a cutaway of the model to reveal internal details. |
| View Orientation | Changes the view (e.g., Top, Isometric, Front). |
| Display Style | Alters the model’s shading (e.g., Shaded, Wireframe). |
| Hide/Show Items | Toggles visibility of items like planes, axes, and origins. |
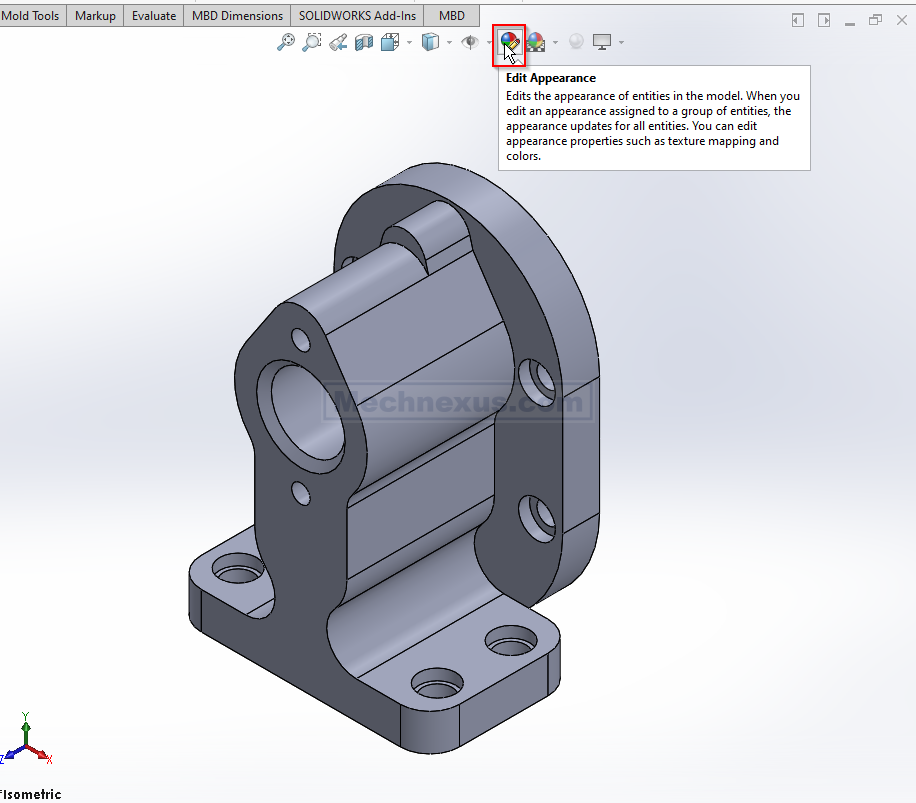
| Edit Appearance | Opens options to change colors and visual properties. |
| Apply Scene | Changes the background and environment scenery. |
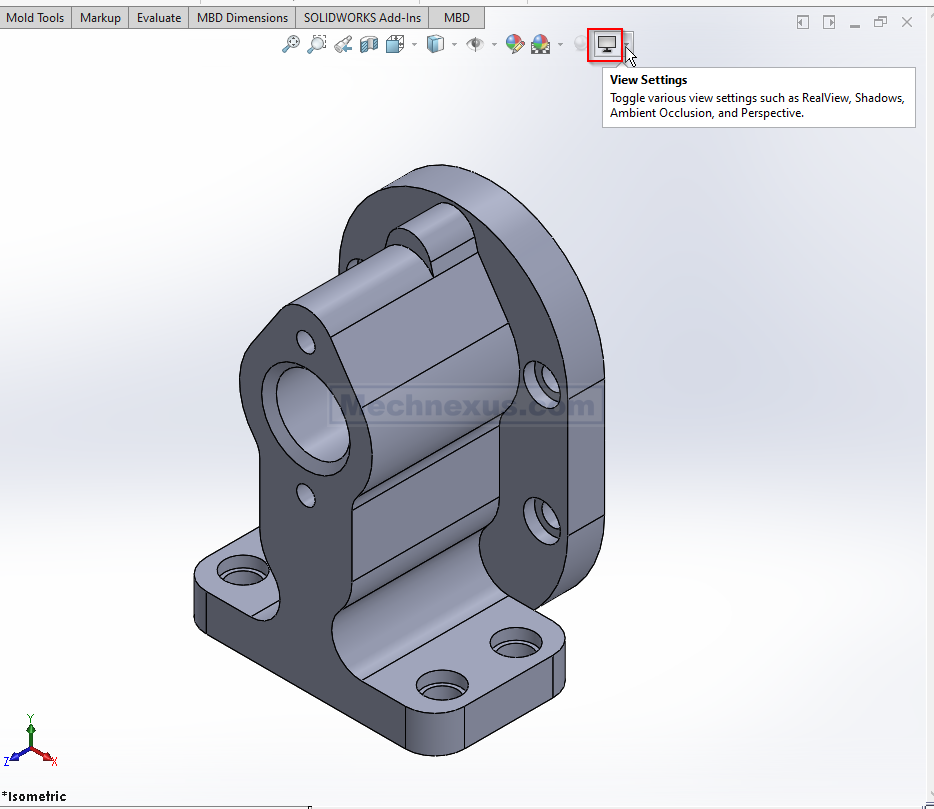
| View Settings | Controls visual effects like shadows and perspective. |
| Zoom to Fit | Fills the graphics area with the model. |
| Zoom to Area | Magnifies a specific area you select with a bounding box. |
| Previous View | Returns to the last view setting. |
| Section View | Displays a cutaway of the model to reveal internal details. |
| View Orientation | Changes the view (e.g., Top, Isometric, Front). |

| Display Style | Alters the model’s shading (e.g., Shaded, Wireframe). |

| Hide/Show Items | Toggles visibility of items like planes, axes, and origins. |

| Edit Appearance | Opens options to change colors and visual properties. |
| Apply Scene | Changes the background and environment scenery. |

| View Settings | Controls visual effects like shadows and perspective. |
Other common tools include Pan, Rotate, and Zoom.
⚙️ How to Customize the Toolbar-:
You can add, remove, or rearrange buttons to fit your needs.
-
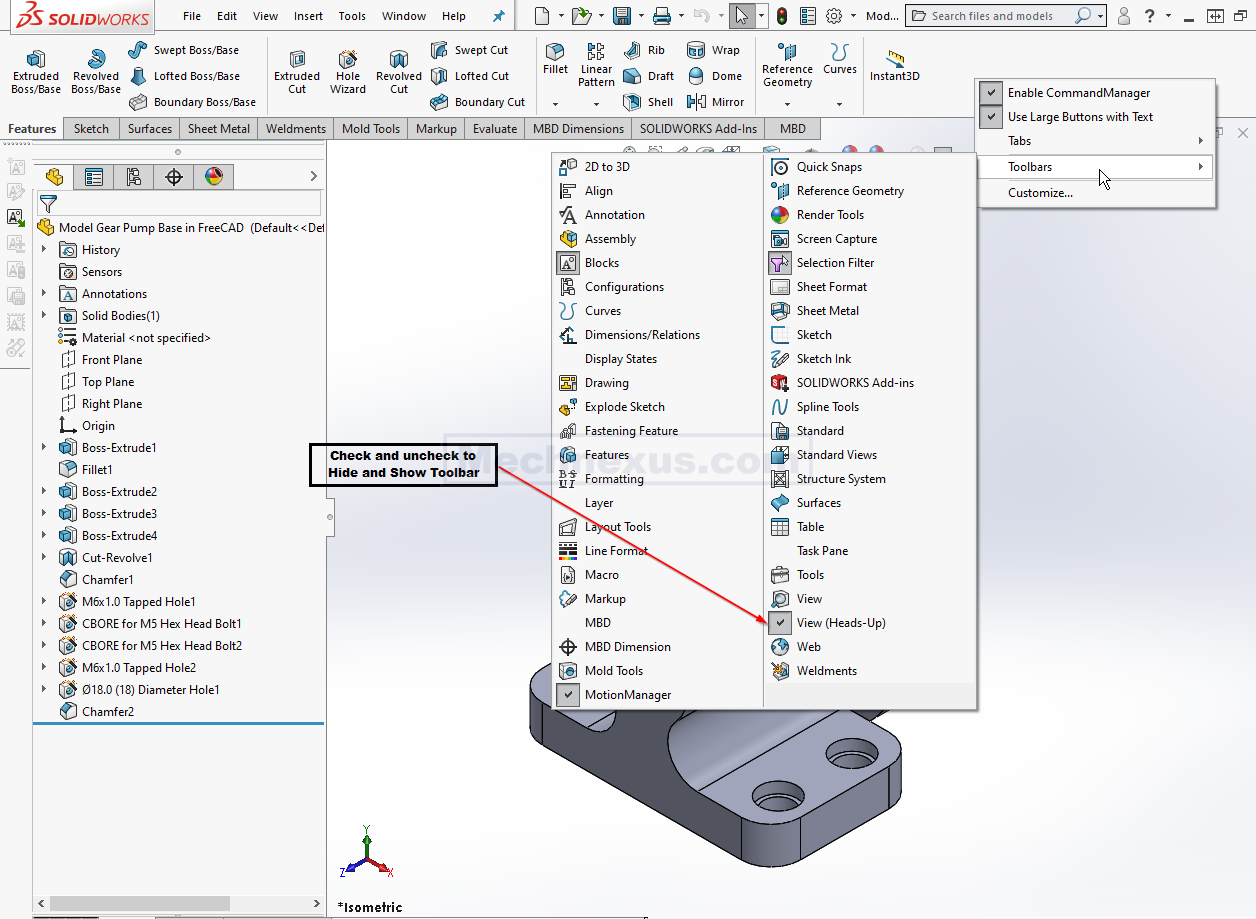
Access Toolbar Settings: Click the Toolbars tab (likely in the menu area) and select or clear View (Heads-Up) to show or hide the toolbar.
-
Add or Remove Buttons:
-
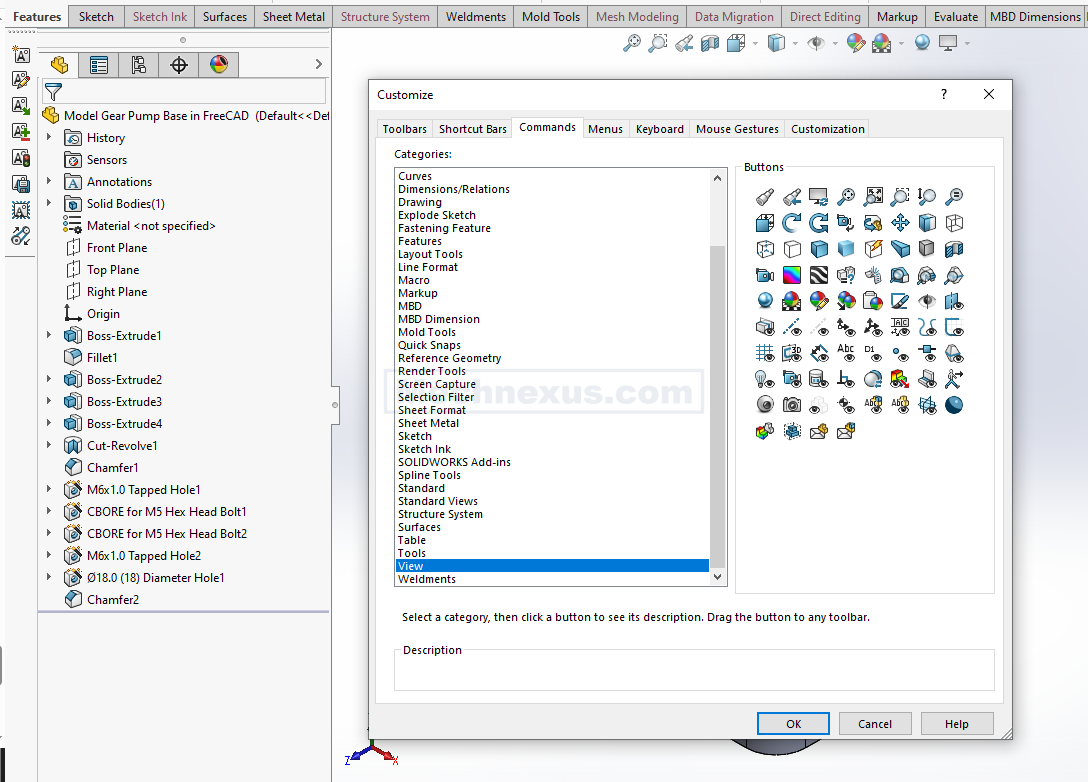
Go to the Commands tab in the customization settings.
-
Drag a button from the Flyout Toolbars and View categories onto the toolbar to add it.
-
Drag a button off the toolbar to remove it.
-
-
Reorder Buttons: Simply drag any button to a new location on the toolbar.
The toolbar is designed for efficiency. If you find yourself using a view command that’s not on it, remember you can likely add it in just a few clicks.
Related Posts-:
“Thank you for reading! If you found this article insightful and valuable, consider sharing it with your friends and followers on social media. Your share can help others discover this content too. Let’s spread knowledge together. Your support is greatly appreciated!”
