Hello friends welcome to SolidWorks tutorial. In this tutorial we will learn How to Use the Loft Feature in SolidWorks. In our previous tutorial we learned How to use Sweep Features in SolidWorks. If you want to learn SolidWorks from scratch you can buy my SolidWorks Complete Course on Udemy.
The Loft features in SolidWorks are powerful tools for creating complex 3D geometry. They allow you to create smooth transitions between profiles or along a path, making them ideal for designing organic shapes, pipes, and more. Here’s a step-by-step guide on how to use these features effectively:
Related Posts-:
- Create Keyboard Shortcut in SolidWorks
- How to Speed Up SolidWorks Performance
- Copy Settings Wizard in SolidWorks
Create Loft Feature in SolidWorks-:
The Loft feature creates a shape by transitioning between two or more profiles (sketches or faces). It’s great for creating complex, freeform shapes.
Steps to Use the Loft Feature in SolidWorks:
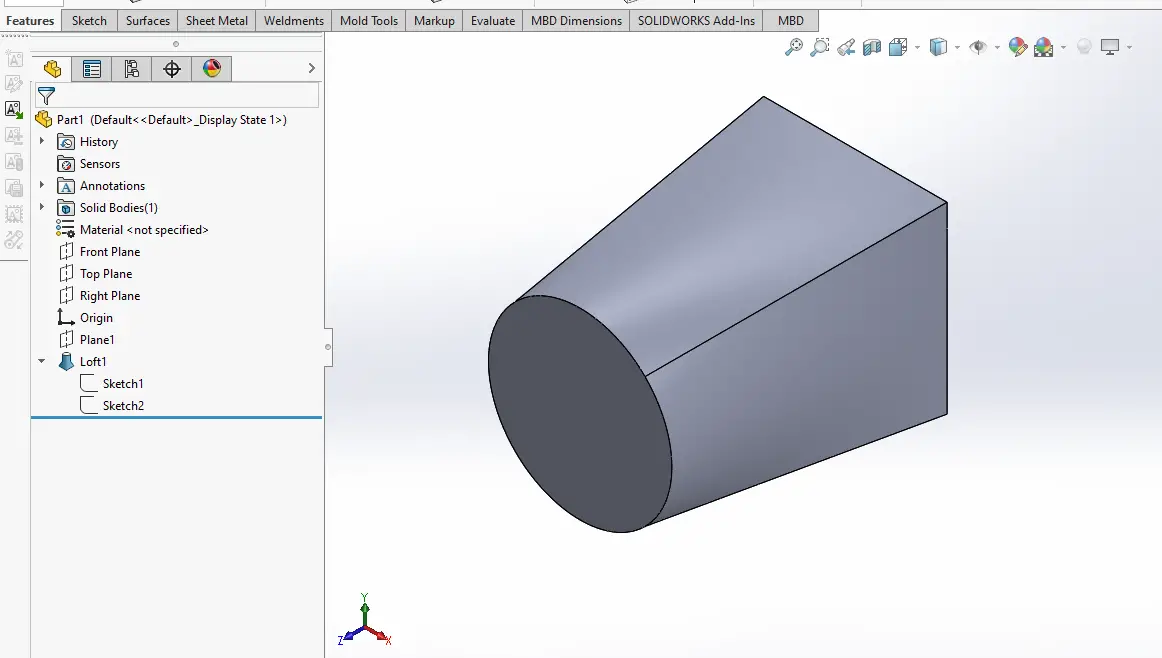
Loft feature in SolidWorks creates a shape by transitioning between two or more profiles (sketches or faces). It’s great for creating complex, freeform shapes. As you can see in below image I have created a circle of diameter 100mm on front plane and then created a plane at offset distance of 150mm from front plane and created a center rectangle. I came out of sketch and click on Lofted Boss/Base.
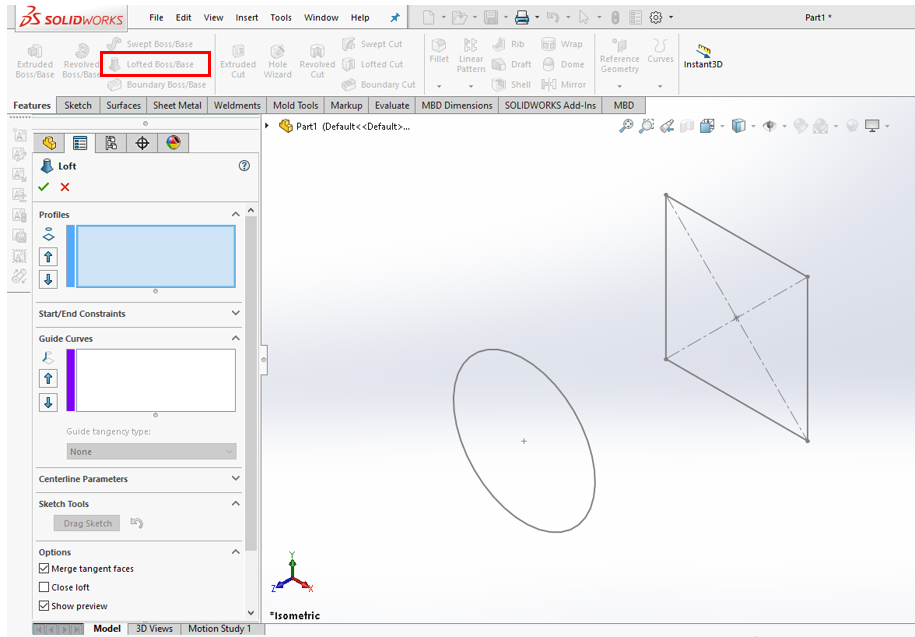
In the Loft property manager, select the sketches you created in the Profiles section. First select circle and then center rectangle as shown in below image.

“Thank you for reading! If you found this article insightful and valuable, consider sharing it with your friends and followers on social media. Your share can help others discover this content too. Let’s spread knowledge together. Your support is greatly appreciated!”
