Hello Friends welcome to FreeCAD tutorial and in this tutorial we will learn How to Place Multiview in FreeCAD. In FreeCAD we can insert a view with the help insert view option but this option does keep link with parent view.
In FreeCAD, creating a “multi-view” drawing typically refers to generating multiple orthographic projections (like front, top, and side views) of your 3D model on a 2D drawing sheet. This is primarily done using the TechDraw Workbench, which is the modern and recommended tool for technical drawings in FreeCAD.
Also Read-:
- Setting the color of Sketch lines in FreeCAD
- Automate FreeCAD with Python Scripting. Make Custom Tools and Workflows
- Mastering FreeCAD: Insider Secrets from an Industry Expert
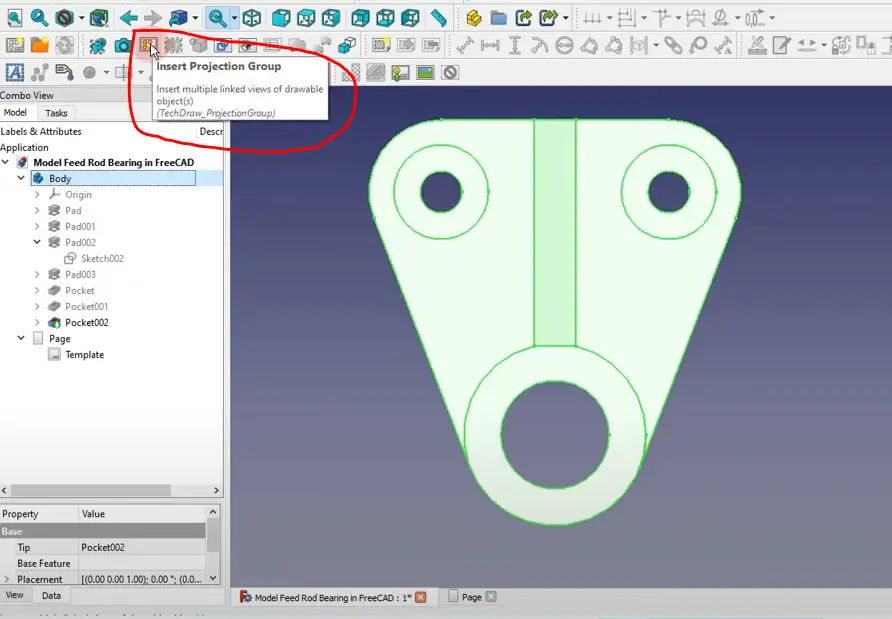
Once model is prepared click on insert Projection group As shown in below image.
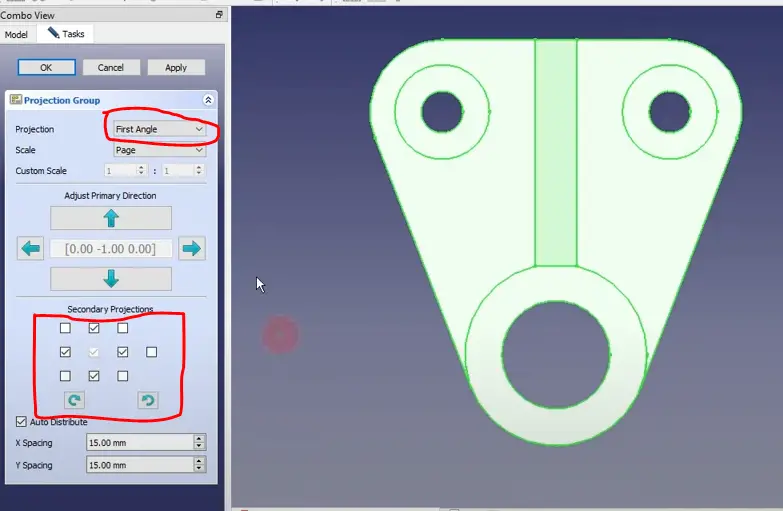
One you click on insert projection group you will have option to choose angle of projection either first angle or third angle and then select the view you want to place on the drawing and click on OK.
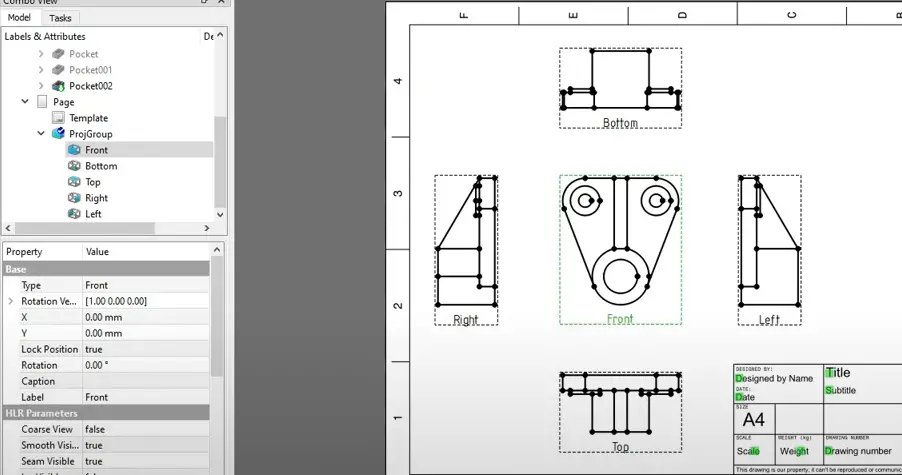
Once you click on OK respective view will be placed on the drawing and if view does not fit to the sheet then you can change the sheet size or scale of the view.
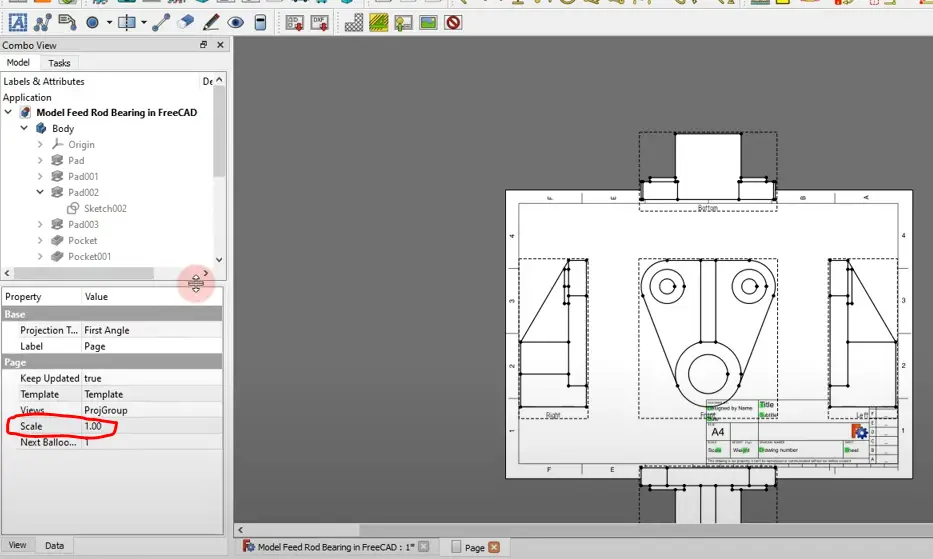
In my case I have changed the view scale As shown in below image. This is How to place Multiview in FreeCAD.
💡 Key Features and Tips-:
-
Linked Views: All views in a projection group remain linked to the original 3D model. If you update the 3D model, the drawing views can be updated to reflect the changes.
-
Quick View Selection: You can use keyboard shortcuts to quickly check standard views of your model while working. Pressing number keys 1 to 6 will give you standard views like Front, Top, and Right, which can help you decide which views to include in your drawing.
“Thank you for reading! If you found this article insightful and valuable, consider sharing it with your friends and followers on social media. Your share can help others discover this content too. Let’s spread knowledge together. Your support is greatly appreciated!”