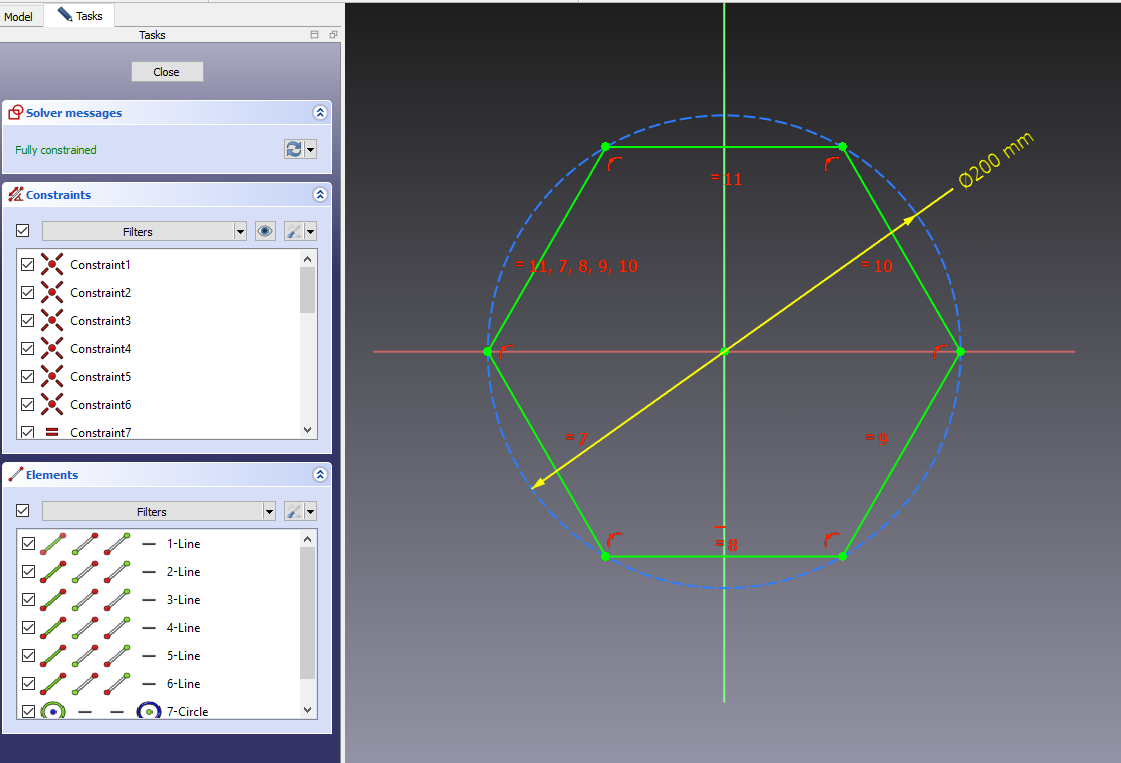
Hello friends welcome to FreeCAD tutorial and in this tutorial we will learn how we can reorient sketch with the opposite in FreeCAD and for this tutorial I am using the FreeCAD over 1.0 so you must have at least FreeCAD over 1.0 or the higher version so here I will create a new file and I will create a body and then create a sketch and I will select the top plane and I will create a simple hexagon and I will apply the horizontal constraint to this and this and let’s constrain it and provide the dimension of 200 and it is fully constrain.
Also Read-:
| Create Exploded Assembly with Animation in FreeCAD |
| Model Involute Gear in FreeCAD |
| How to Easily Array Body in FreeCAD |

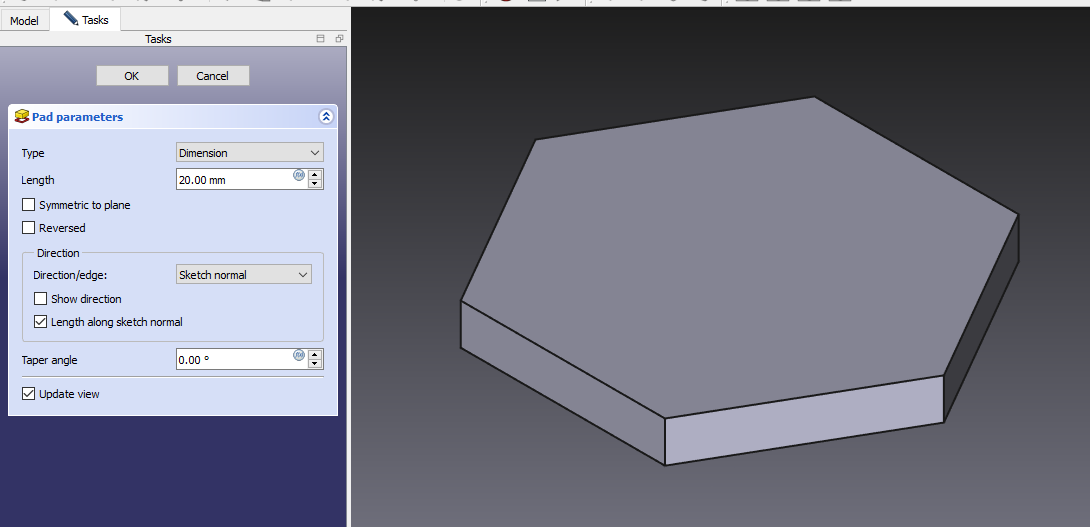
Now I will close the Sketch we will create a pad so we will select the sketch click on the pad and provide the distance of 20 mm.
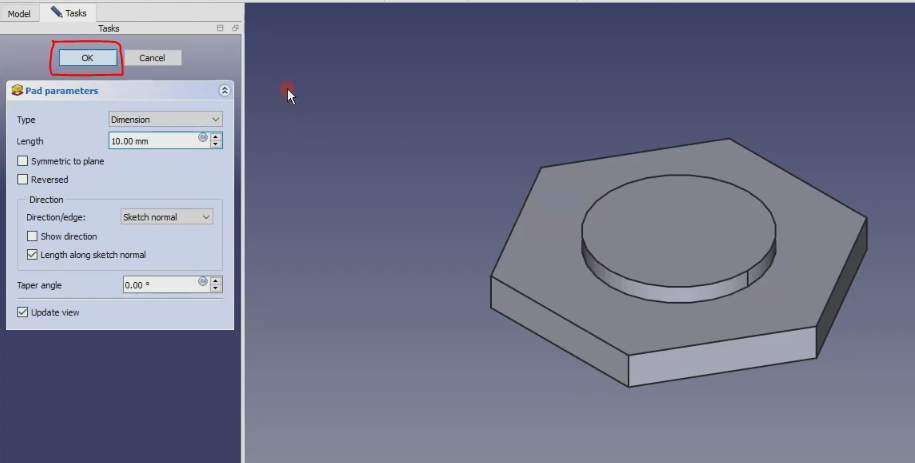
and now we will create one more features on this face so select the face and click on the sketch and here I will create a circle and select a smart dimension and provide it 100 mm click on close and now we will create the pad of 10 mm and say okay.
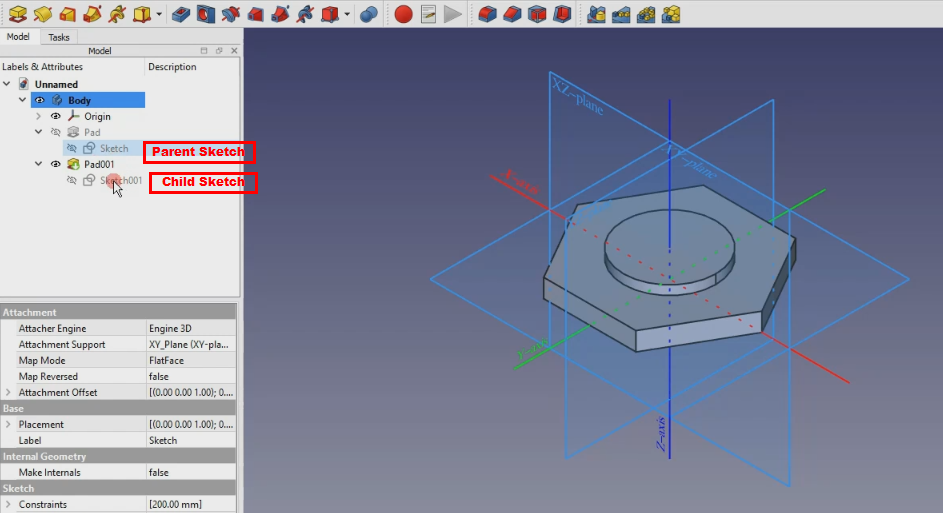
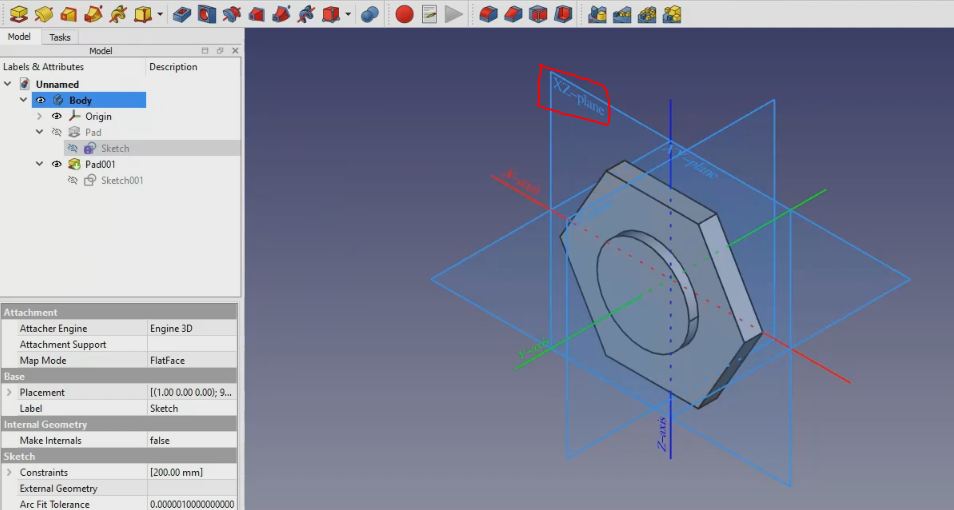
now we will on our origin plane so you can see that we have created this body on top plane so you can see that we have created our feature on the top plane and let’s imagine you want to create this feature on a front plane or on the right plane you have no need to delete these features and create everything from the scratch with the reorient option in a free cat we can easily do that so if we expand our browser tree so we can find here the sketch and sketch 001 so sketch is a parent and sketch 001 is a child because this pad we have created on this face so this pad is a child and this our base feature is a parent so if we reorient the parent and child will get automatically oriented.
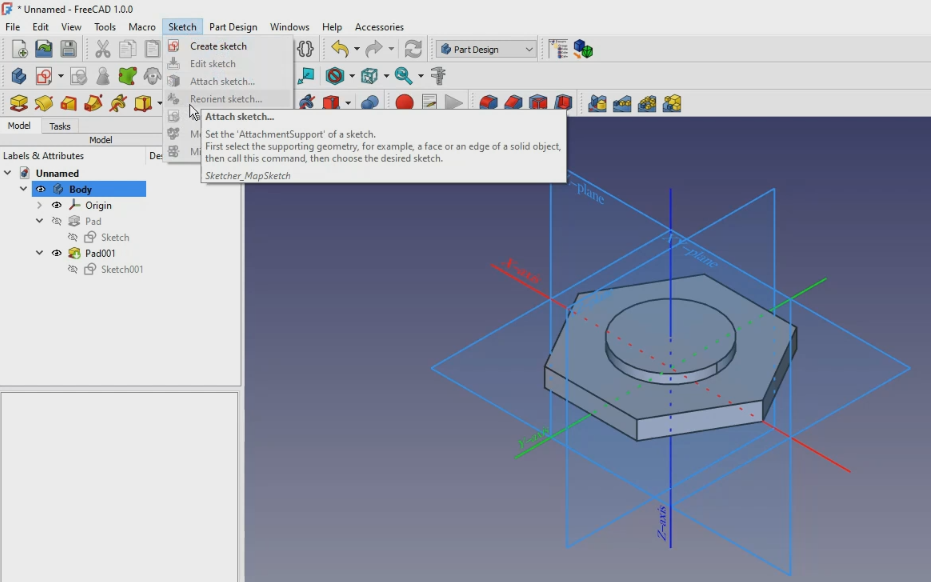
if we see the part design workbench and here under the sketch you will not find the option but if you go to the menu tab so here you will find the sketch options so here is a reorient sketch option but it is inactive because we have not selected any sketch.
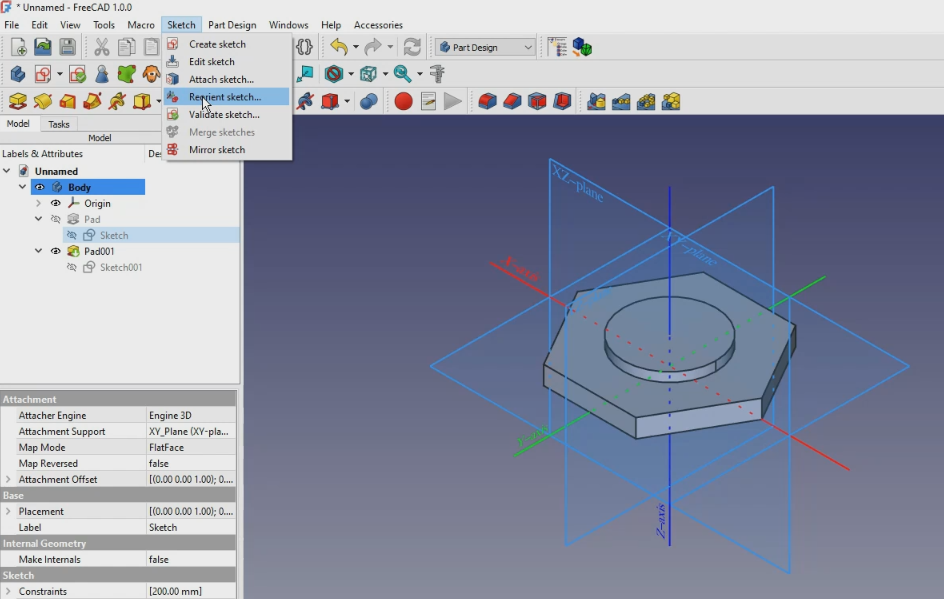
so once I select a sketch and go to the sketch options so this option get active so click on it.
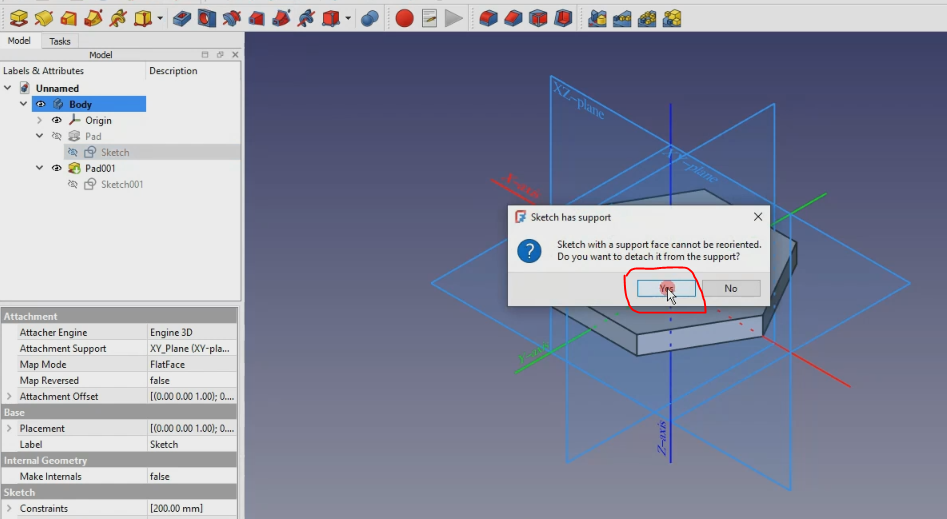
Once you click on Reorient option you will see the message just say yes so once you say yes.
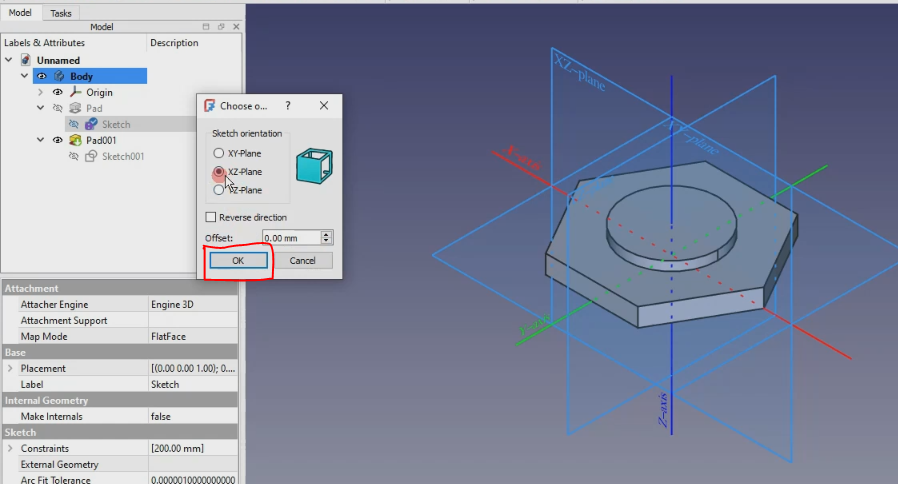
you will see the cube with the plane options so currently we have created on a XY plane now we want to move to the exit plane so select the XZ plane and here is the offset option as well you can provide the offset value now select this XZ plane and Click on OK.
You will see that our body is got reoriented As you can see in below image. You can do the same thing with other plane to reorient your part.
“Thank you for reading! If you found this article insightful and valuable, consider sharing it with your friends and followers on social media. Your share can help others discover this content too. Let’s spread knowledge together. Your support is greatly appreciated!”