In FreeCAD, the “Map Sketch to Face” (or “Map Sketch”) tool allows you to attach a 2D sketch to a selected face or plane of a 3D object. This ensures that the sketch moves with the underlying geometry if modifications are made.
Typical use cases are of Map Sketch in FreeCAD:
- The sketch was created on a standard plane (XY, XZ or YZ) and you want to attach it to the face of a solid in order to build a new feature upon it.
- The sketch was attached to a specific face of a solid but you need to attached it to a different face.
- A broken model needs to be repaired.
Related posts:
- Model Involute Gear in FreeCAD
- Let’s understand FreeCAD Part Workbench
- Let’s Explore the FreeCAD user Interface
How to Use the Map Sketch Tool in FreeCAD-:
- Select an object with a shape, or one or more vertices, edges, and/or faces, and/or a plane.
- There are several ways to invoke the tool:
- Press the
 Attach sketch… button.
 - Select the Sketch → Attach sketch… option from the menu.
- Press the
- The Select sketch dialog opens.
- Select a sketch from the dropdown list.
- Press the OK button.
- The Sketch attachment dialog opens.
- Select an attachment method from the dropdown list. Or select Don’t attach to detach the sketch.
- Press the OK button.

Important Notes-:
-
Sketch Must Be in Part Design Body – The sketch must be inside a Part Design Body to be mappable.
-
Avoid Non-Planar Faces – FreeCAD works best with flat faces. Mapping to curved surfaces may require workarounds (e.g., using a Draft ShapeString + Part Extrude for text).
-
Attachment Offset – You can adjust position/rotation in the Attachment properties.
Troubleshooting-:
-
“Failed to Map Sketch” Error → Ensure the target face is flat and the sketch is in a Part Design Body.
-
Sketch Doesn’t Move with Geometry → Check if the attachment is properly set in the Property Panel.
Related posts:
- Setup Auto Spacing in FreeCAD Sketcher
- Easily Slice Part with Plane in FreeCAD
- Insert Surface Finish Symbol in FreeCAD Drawing
“Thank you for reading! If you found this article insightful and valuable, consider sharing it with your friends and followers on social media. Your share can help others discover this content too. Let’s spread knowledge together. Your support is greatly appreciated!”

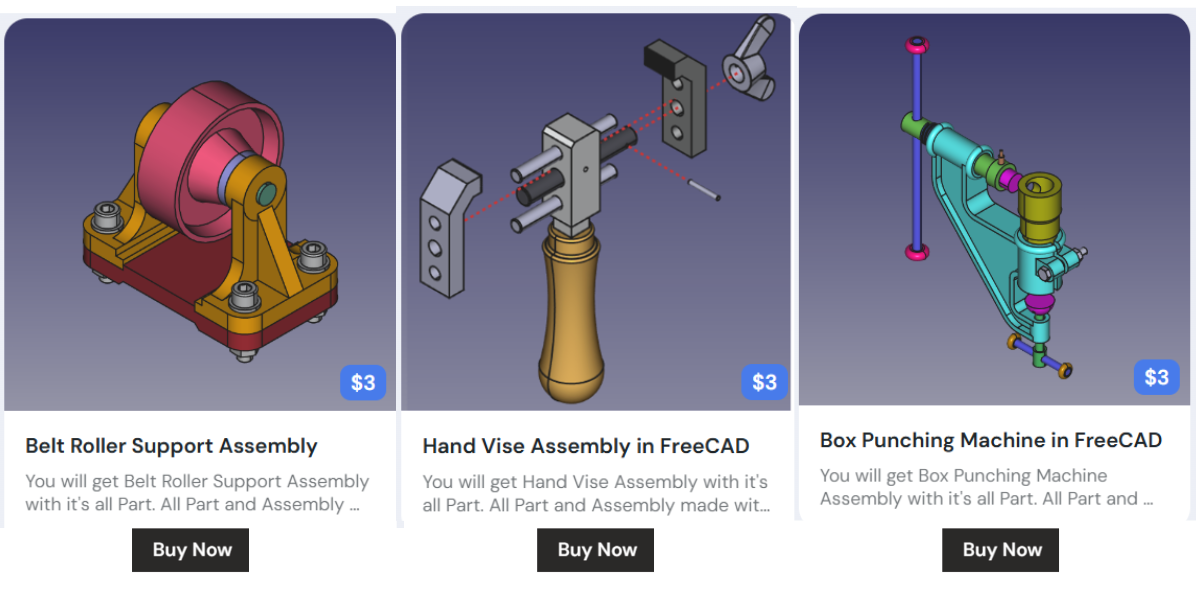
My FreeCAD Projects at Amount of Coffee-: